Yamaha HS80M Dust Cap Replacement
Alright, so a couple of months ago, somebody broke the dust cap on one of my trusty Yamaha HS80M studio monitors. That resulted in the speaker making a very terrible noise when playing certain frequencies. So, I decided to just 3D print a new dust cap and it was easier that I thought it would be. All necessary files can be downloaded below or on my Thingiverse page. If you decide to use my 3D model, please drop me a line! :)
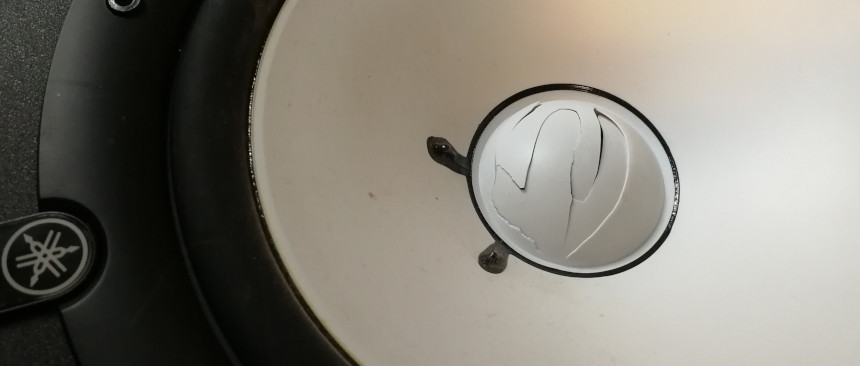
The broken dust cap. Looking bad and sounding bad.
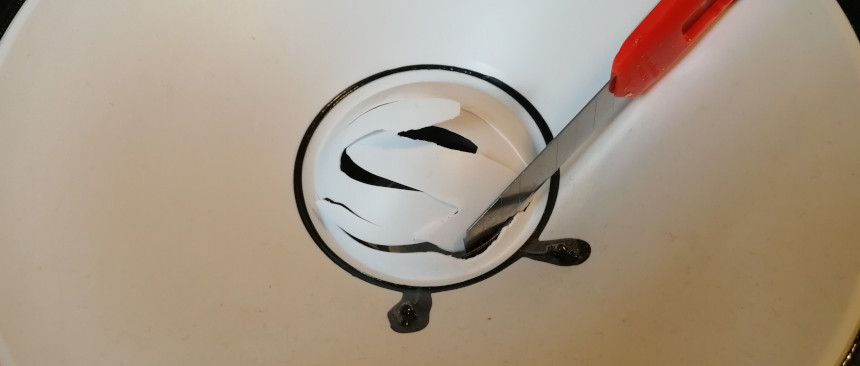
Carefully removing the broken cap using a stanley knife.
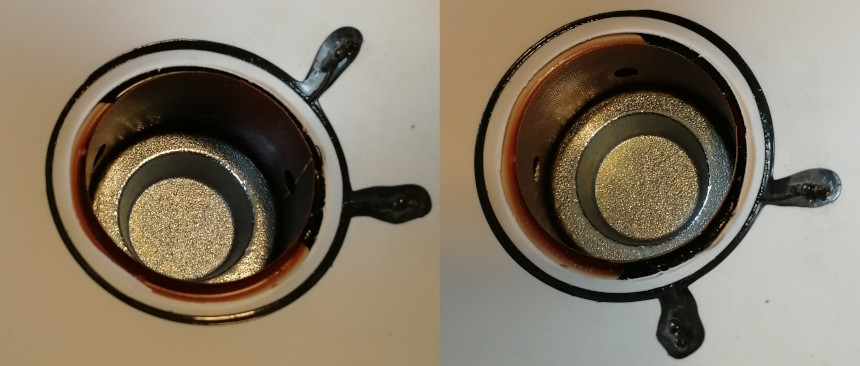
This is what the speaker looks like without the cap.
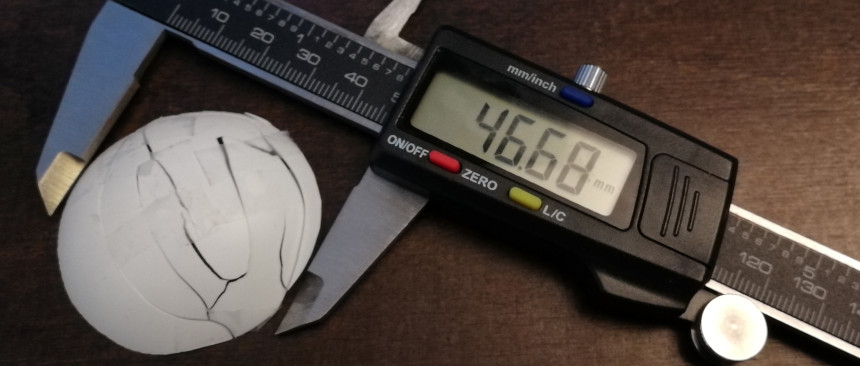
The next step was to tape the broken cap together and measure it.
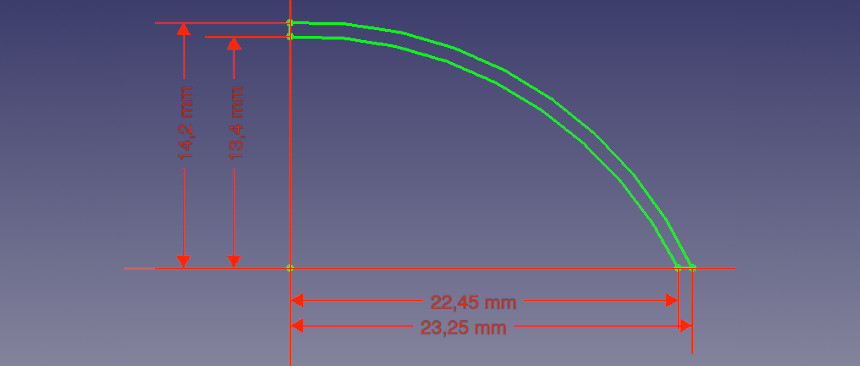
I used FreeCAD to create the 3D model
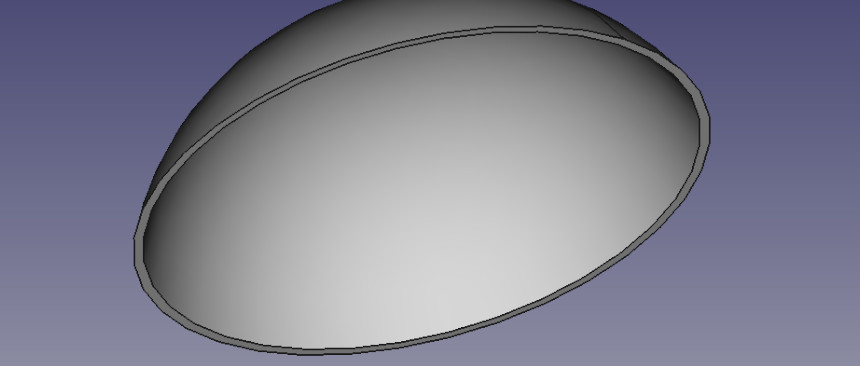
FreeCAD again ...
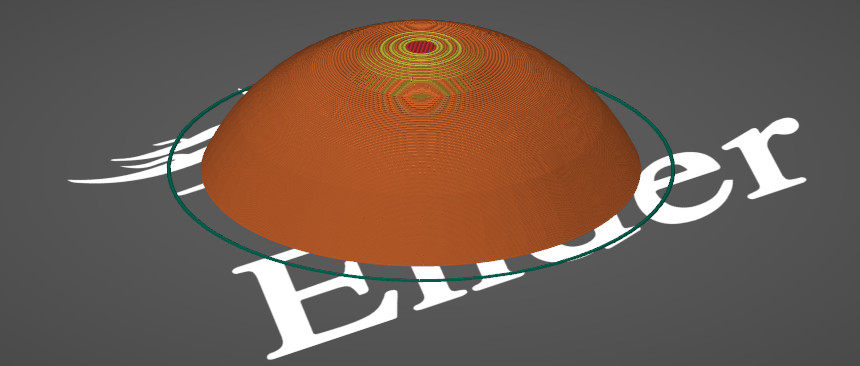
... and finally preparing to print in Prusa Slicer.
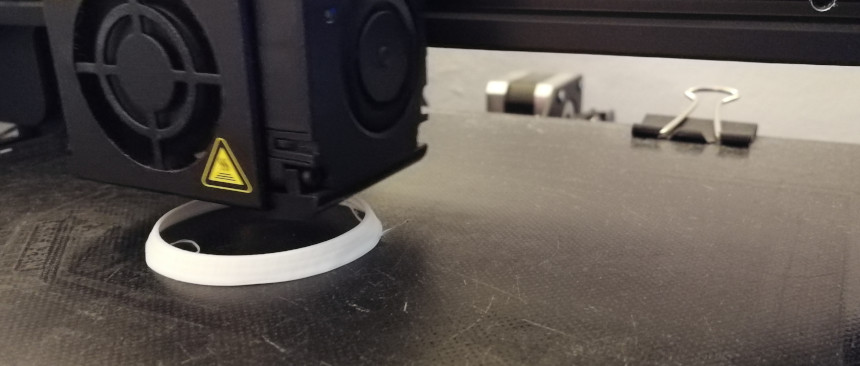
Printing the Cap on my Ender 3 Pro.
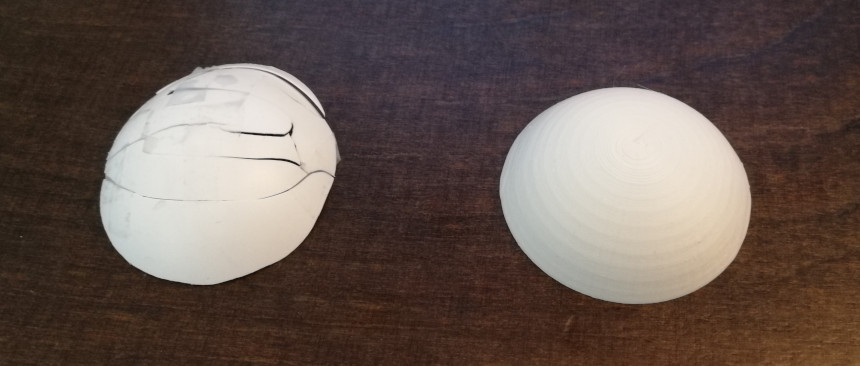
Old vs New. Pretty impressive, don't you think?
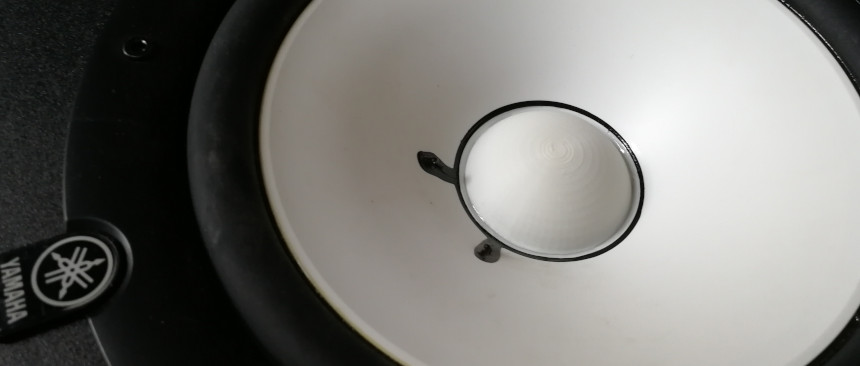
Glueing the new dust cap to the speaker.
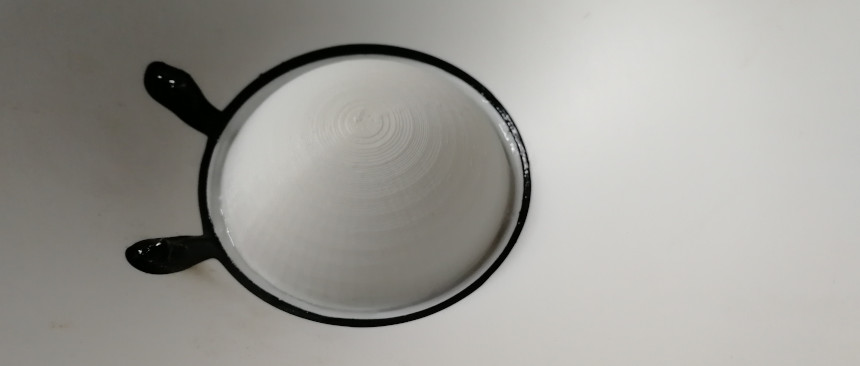
... and finally, the speaker is working again! Wohoo!
This is the link to my Thingiverse page: https://thingiverse.com/mmathias-com/designs
Locations:
Tags: #yamaha #hs80m #dustcap #3dprinting #ender #freecad #prusaslicer
Your thoughts?
To comment, please send an email using the button below. Your email address will not be shared and will be deleted from my records after the comment is published (unless you would like us to stay in contact). If you do not want your real name to be mentioned next to your comment, please indicate the name you would like to use. If you would like your name to be linked to a specific URL, please provide that as well. Thank you.